Mother Nature tricked us with a late spring that jumped right into summer so we Midwest gardeners are just now starting to reap the bounty of our labor. As often happens, we tend to get a little of this and a bit of that to begin with…and soon thereafter find ourselves inundated with a lot of one thing or another.
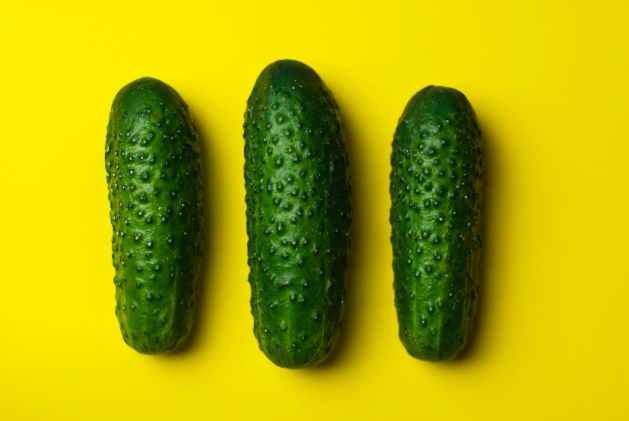
Photo by Tookapic on Pexels.com
Cucumbers and a few other veggies don’t hold up well for extended storage. Yet they don’t arrive early in sufficient quantities to make it worth the home cook’s time and effort to can them.
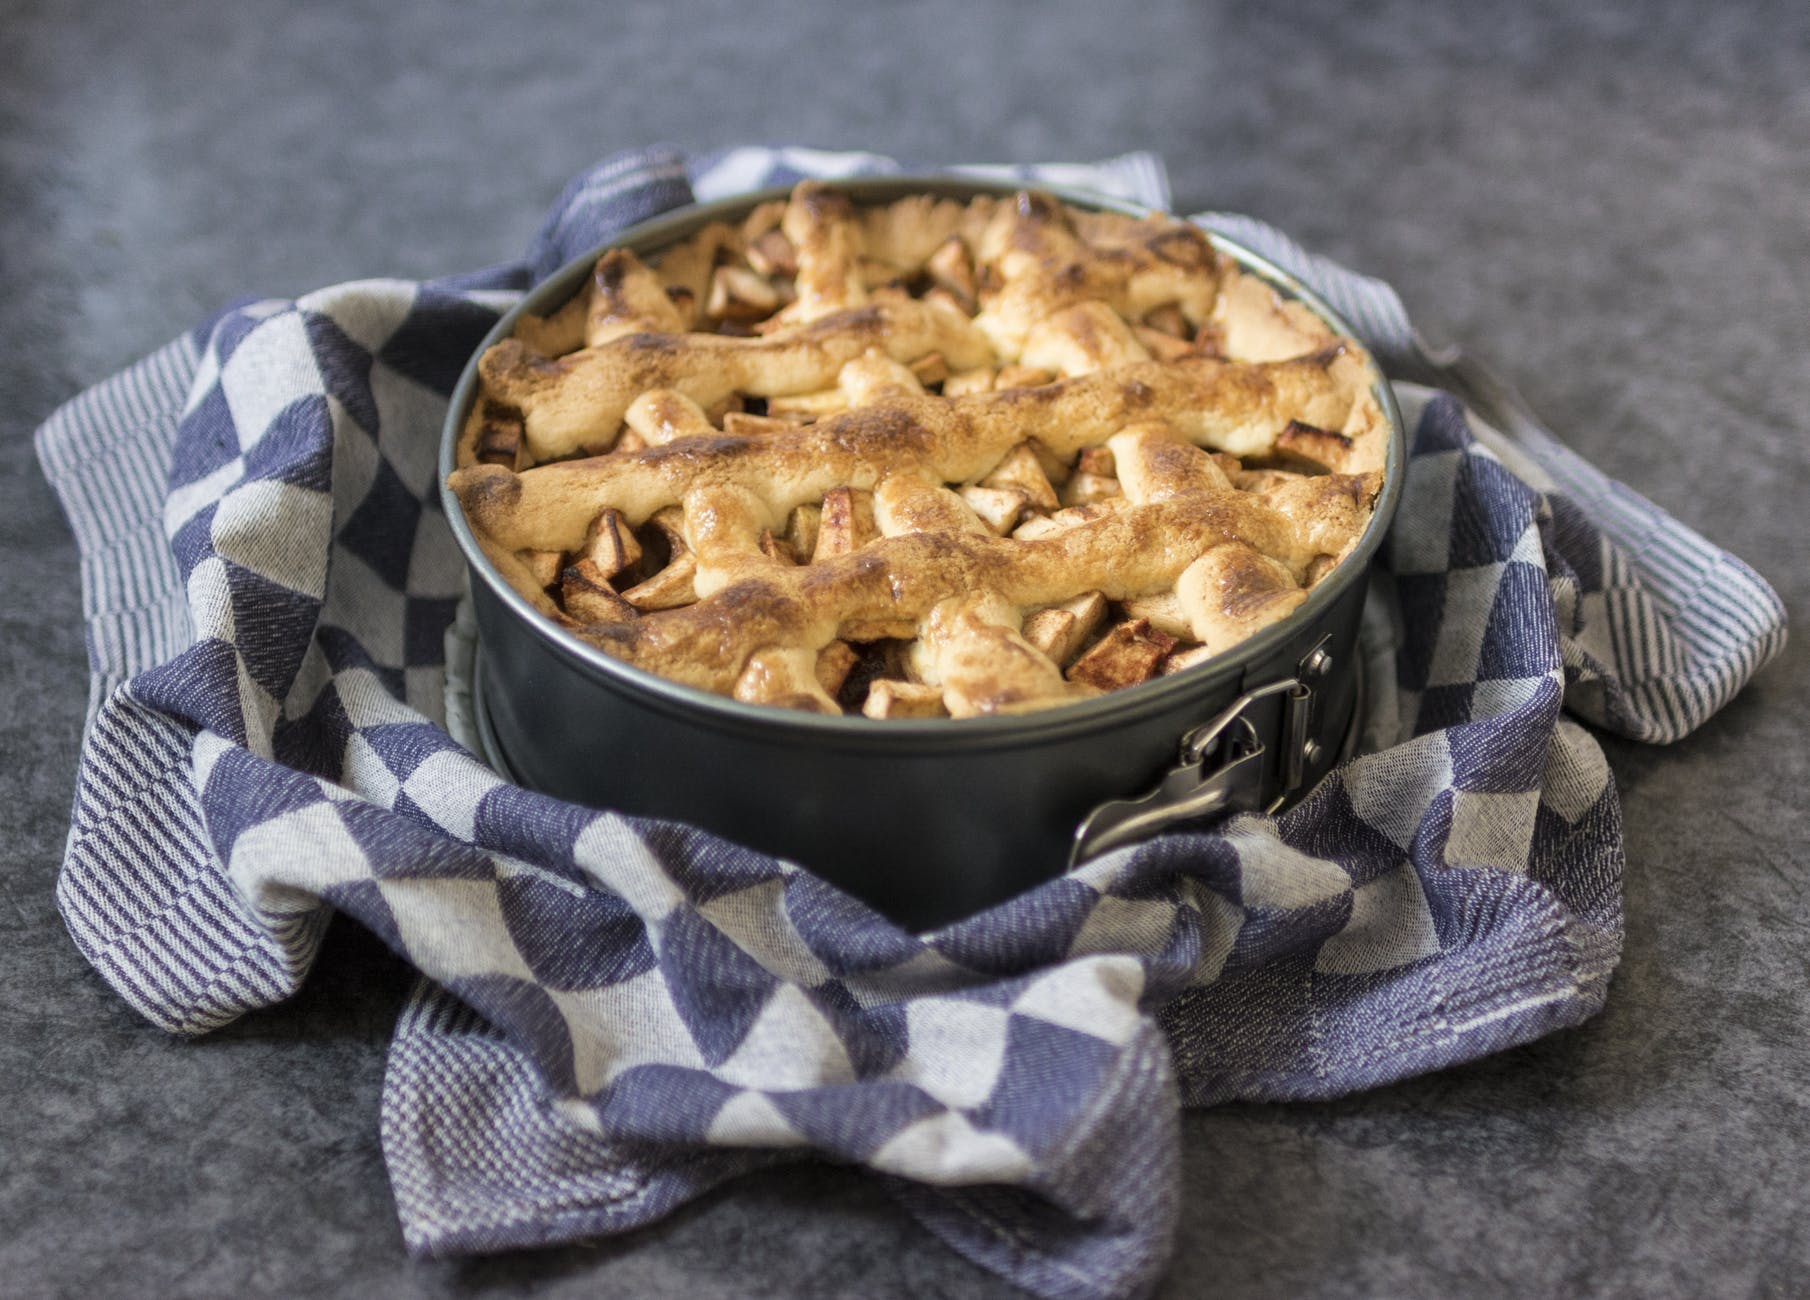
Bread and Butter Pickles are a family favorite, so every summer I hope for a bumper crop of cucumbers so I can to replenish the pantry stock. Problem is that the first harvest usually nets only a few cukes: too many for hubby and me to use up before they go soft, but not enough to justify pulling out the canning equipment to make pints of pickles.
Ah…but I’ve figured out a recipe solution for that problem.
With a few adjustments, I transformed my mother’s recipe for Ice Box Pickles into a no-canning version of Bread and Butter Pickles that can be made and consumed in small batches while I wait for the big cucumber harvest. (That will likely come when it’s hotter than Hades and any exertion whatsoever in the 99.9% Missouri humidity results in buckets of perspiration.)
In the meantime…
![]()
Refrigerator Bread and Butter Pickles
Ingredients:
4 cups sliced cucumbers
1 cup sliced onions
1 tablespoon coarse sea salt or kosher salt
1 cup white sugar
¼ cup brown sugar
1 cup white vinegar
¼ cup apple cider vinegar
1 teaspoon mustard seeds
½ teaspoon celery seeds
1/8 teaspoon ground turmeric
Instructions:
Toss the cucumbers, onion, and salt together in a large bowl. Cover and chill in the fridge while for about an hour. Meanwhile, you can prepare the pickling solution.
For the pickling solution, combine sugar, brown sugar, white vinegar, apple cider vinegar, mustard seeds, celery seeds, and turmeric in a large sauce pan. Bring to a simmer over medium heat, stirring until the sugars are completely dissolved and incorporated. Continue simmering for about 5 minutes. Remove from heat.
Drain the cucumbers and onions into a colander and rinse to remove any undissolved salt. Return to the bowl and pour the hot pickling solution over the cucumbers and onions. Let stand at room temperature for about an hour before storing in an airtight container.
This will make about 4 cups of pickles, so you could store them in a quart jar or 2 pint jars. You can use Tupperware-type containers, but glass is better for retaining the flavor. These pickles will keep in the refrigerator for up to a month, but they usually don’t last that long around here.

Radishes tend to come all at once. If you happen to harvest more than you can consume raw in salads before they get pithy, you have a couple of options: cook them or pickle them. You can sauté them with bacon and radish greens or roast them with carrots, peppers, potatoes, and/or other vegetables. Cooked radishes have less of a “bite” than raw ones do.
Or you can turn them into a condiment!
Taking inspiration from Do Chua, the pickled daikon and carrot concoction that is prevalent in Vietnamese cuisine, I developed a recipe that combines garden-variety radishes with carrots in a versatile relish. Whether it is topping humble grilled hot dogs, spicing up a salad, or adding extra oomph to a slow-smoked brisket, it has become a summer staple in our household.
![]()
Poor Girl’s Do Chua (Pickled Radishes and Carrots)
Ingredients:
1 large carrot
½ pound (8 ounces) cherry belle or other rosy-skinned radishes
1 clove of garlic
¼ cup granulated sugar
1 tablespoon coarse kosher salt
¼ cup white vinegar
¼ cup apple cider vinegar
1 cup water
Instructions:
Wash, peel, and dice carrot into small cubes. Wash and trim radishes and chop coarsely. (Do not peel radishes unless you use a less common variety like daikon or watermelon radishes. The red skin makes for a delightfully colorful relish.) Peel garlic clove and slice very thinly. The easiest and safest way to do this is to use a vegetable peeler to shave thin strips from the clove.
In a large, non-reactive bowl combine carrots, radishes, garlic slices, sugar and salt. Use your fingertips to toss the vegetables together and work the salt and sugar into them until dissolved. In a 2-cup measuring cup, whisk together the water and vinegars.
Pack the vegetables into a pint canning jar (see Note) and then pour the pickling liquid over them. Cap the jar tightly and refrigerate for a minimum of 10 minutes before use. While the relish can be served at this point, the flavor is better if it’s allowed to chill at least 24 hours.
Unused portions of relish can be safely stored in the refrigerator for up to 3 months, but it will begin to lose some crunchiness after about a month – still edible, but not quite as yummy.
Yields about 1 pint.
Note: Storing the relish in a plastic container instead of glass will ultimately result in a less flavorful relish as the vinegar will gradually seep into the porous plastic.

Photo by JÉSHOOTS on Pexels.com
Despite the adage’s negative connotation, being “in a pickle” isn’t necessarily a bad thing, is it?